Containerise Your App with Docker for Deployment Success

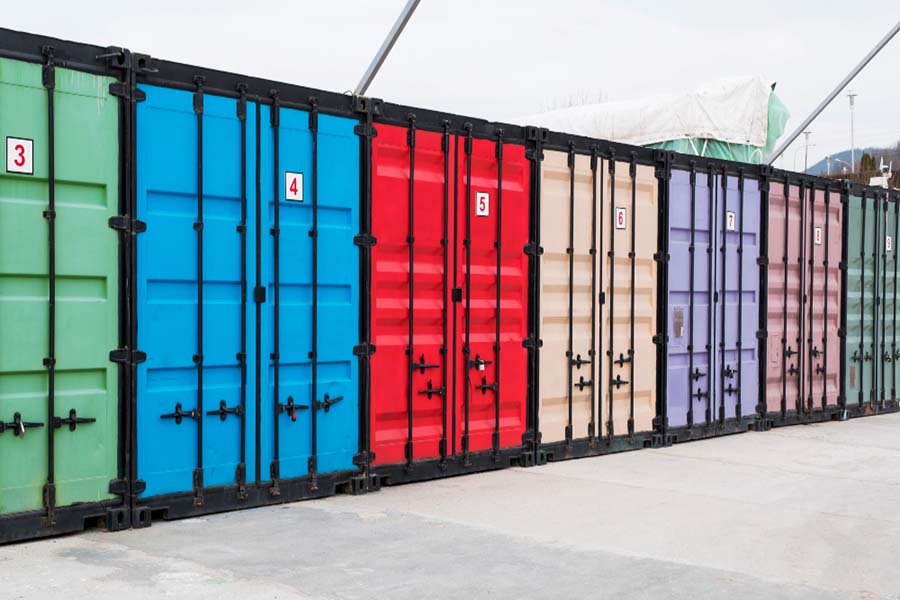
Docker has emerged as one of the most popular tools for application deployment due to its ability to simplify the process of creating and managing containers. Containers provide a lightweight and portable environment for running applications, making deploying and scaling them easier across different systems. In this blog, we will explore how to effectively use Docker to containerise your application for deployment.
What is Docker?
Docker is a powerful open-source platform that automates application deployment, scaling, and management using containerisation. It provides a standardised way to package an application and its dependencies into a container. A container is an isolated environment that includes everything needed to run an application, such as code, runtime, system tools, and libraries.
Containers offer several advantages over traditional deployment methods. They are self-contained and can run on any system with Docker installed, making them highly portable. This portability ensures consistent behaviour across different environments, making deploying and testing your application easier. Additionally, containers provide a lightweight and isolated environment, separating your application from the host system and other containers. This isolation enhances security and reduces conflicts between different applications and dependencies.
Why Use Docker for Application Deployment?
Using Docker to containerise your application brings numerous benefits:
Portability: Containers are self-contained and can run on any Docker system installed, regardless of the underlying infrastructure. This ensures consistent behaviour across different environments, making deploying and testing your application easier. Furthermore, containers can be easily migrated between different environments, such as development, staging, and production, without requiring extensive configuration changes.
Isolation: Containers provide a lightweight and isolated environment for your application, separating it from the host system and other containers. This isolation improves security by reducing the attack surface and minimising the potential impact of security vulnerabilities. It also eliminates conflicts between applications and dependencies, ensuring each container operates independently.
Scalability: Docker simplifies the process of scaling your application. You can handle increased traffic and distribute the load effectively by running multiple instances of the same container. Docker’s orchestration tools, such as Docker Swarm and Kubernetes, enable seamless scaling and load balancing across multiple containers and hosts.
Version Control: Docker enables version control for your application and its dependencies. By defining the exact software versions and libraries your application needs, you can ensure consistent behaviour and avoid compatibility issues. This version control facilitates reproducibility, allowing you to roll back to previous versions if necessary.
Ease of Deployment: Docker simplifies the deployment process by providing a standardised way to package and distribute your application. The containerised application and its dependencies can be easily shared as a single unit called a Docker image. This image can be deployed on any system with Docker installed, ensuring that everyone runs your application’s same version. Docker also supports automated deployment pipelines, enabling continuous integration and delivery.
Getting Started with Docker
To start using Docker for application deployment, follow these steps:
Install Docker: The first step is to install Docker on your system. Docker provides installation packages for various operating systems, including Windows, macOS, and Linux. Visit the official Docker website (https://www.docker.com/) and follow the installation instructions for your platform. Once installed, you can access the Docker CLI (Command Line Interface) and other Docker tools.
Create a Dockerfile: A Dockerfile is a text file that contains instructions for building a Docker image. The Docker image serves as a template for creating containers. Start by creating a new file named Dockerfile in the root directory of your application. The Dockerfile will define the steps required to build your application’s container image.
Define the Base Image: In the Dockerfile, specify the base image that your application will be built upon. The base image provides the operating system and other dependencies your application requires. For example, if your application is based on Node.js, you can use the official Node.js base image. Choosing a minimal base image can reduce the size of the resulting Docker image and improve build times.
Copy Application Files: Copy your application files into the container using the COPY instruction in the Dockerfile. This includes your source code, configuration files, and other necessary assets. By copying the files into the container, you ensure the container has all the required files to run your application.
Install Dependencies: If your application has any dependencies, such as external libraries or packages, use the appropriate package manager (e.g., npm for Node.js) to install them inside the container. This ensures the container has all the necessary dependencies to run your application. You can specify the installation commands in the Dockerfile, allowing Docker to install the dependencies during the build process automatically.
Expose Ports: If your application listens on a specific port for incoming requests, you must expose that port in the Dockerfile using the EXPOSE instruction. This allows Docker to map the container’s port to the corresponding port on the host system. Exposing the ports ensures external traffic can reach your application inside the container.
Specify the Startup Command: Use the CMD or ENTRYPOINT instruction in the Dockerfile to specify the command to execute when the container starts. This command typically starts your application or the runtime environment needed to run it. The startup command ensures your application is automatically launched when the container is created.
Build the Docker Image: Once you have defined the Dockerfile, use the docker build command to build the Docker image. This command reads the instructions in the Dockerfile and creates a reproducible image based on those instructions. Tag the image with a descriptive name and version number for easy identification. The Docker image can be built locally or on a remote Docker registry.
Run the Docker Container: After building the Docker image, you can run it using the Docker run command. This command creates a new container from the specified image and starts it. You can provide additional flags and arguments to customise the container’s behaviour, such as environment variables or volume mappings. Running the container allows you to test and validate your application in a controlled environment.
Best Practices for Dockerising Your Application
To ensure a smooth and efficient containerisation process, consider the following best practices:
Use a Minimal Base Image: When selecting a base image for your application, choose one that provides only the essential dependencies. This helps reduce the size of the resulting Docker image and improves build and deployment times. Avoid using bloated base images that include unnecessary components.
Leverage Layer Caching: Docker uses a layered file system, where each instruction in the Dockerfile creates a new layer on top of the previous ones. Take advantage of layer caching by ordering your instructions from least to most frequently changed. This allows Docker to reuse cached layers, speeding up the build process. For example, place the installation of dependencies towards the end of the Dockerfile to avoid rebuilding them if the code changes.
Avoid Running Containers as Root: Running containers as the root user can pose security risks. Run your application containers with a non-root user whenever possible to minimise the potential impact of security vulnerabilities. Create a dedicated user within the container and configure the container to run with that user’s privileges.
Use Environment Variables: Use environment variables instead of hardcoding configuration values inside your application. This allows you to inject different configurations during container runtime, making your application more flexible and portable. Docker provides a mechanism to pass environment variables to the container using the -e flag when running the docker run command or defining them in a Docker Compose file.
Monitor and Manage Container Resources: Docker provides various tools for monitoring and managing container resources, such as CPU and memory usage. Regularly monitor your containers to ensure optimal performance and resource allocation. Docker also offers options to limit resource usage, such as CPU and memory constraints, to prevent containers from consuming excessive resources.
Conclusion
Docker offers a powerful and efficient solution for containerising your application for deployment. Following the steps outlined in this article, you can leverage Docker’s benefits, such as portability, isolation, and scalability, to simplify your application deployment process. Remember the best practices mentioned to optimise your Docker setup and ensure a secure and efficient containerisation experience. Start containerising your application with Docker today and experience its advantages to your deployment workflow.
Be sure to check out our other related posts if you enjoyed this one:
- The Rise of Collaborative Robots: Transforming Industries
- Unmasking Cyber Secrets: The Art of Deception Revealed!
- Decoding Cyber Threats: The Social Engineering Menace
- Unlock the Ultimate Quest: Ready Player One’s Audio Adventure!
- Revolutionising Wellness: Metaverse Therapy Unleashes Mental Liberation!
- Code Mastery Unleashed: Transform Your Skills with Clean Code by Robert C. Martin! 🚀
- Top Must-Have Tech Gadgets for Kids – Unbelievable Fun!
- Mastering Crypto Trading: Proven Strategies
- Unveiling Ethereum 2.0: Advancements & Impact
- AI Transforms E-Commerce: A Digital Revolution
Sign up for updates on this blog and our latest posts if you enjoyed reading this one.
FAQ
What is Docker?
Docker is an open-source platform that automates application deployment, scaling, and management using containerisation. It provides a standardised way to package an application and its dependencies into a container, an isolated environment that includes everything needed to run the application.
Why should I use Docker for application deployment?
Using Docker for application deployment brings several benefits, including:
Portability: Containers can run on any system with Docker installed, ensuring consistent behaviour across different environments.
Isolation: Containers provide a lightweight, isolated environment, enhancing security and eliminating application conflicts.
Scalability: Docker simplifies scaling by allowing multiple instances of the same container to handle increased traffic.
Version Control: Docker enables version control for your application and its dependencies, ensuring consistent behaviour and facilitating reproducibility.
Ease of Deployment: Docker provides a standardised way to package and distribute your application, simplifying the deployment process.
How do I get started with Docker for application deployment?
To get started with Docker for application deployment, follow these steps:
Install Docker on your system.
Create a Dockerfile to define the steps required to build your application’s container image.
Specify the base image, copy application files, install dependencies, expose ports, and specify the startup command in the Dockerfile.
Build the Docker image using the Docker build command.
Run the Docker container using the Docker run command to test and validate your application.
What are some best practices for Dockerising my application?
Some best practices for Dockerising your application include:
Use a minimal base image to reduce the size of the Docker image.
Leverage layer caching by ordering instructions from least to most frequently changed.
Avoid running containers as root to minimise security risks.
Use environment variables to make your application more flexible and portable.
Monitor and manage container resources for optimal performance and resource allocation.
Credits
Featured image by Freepik.


