


Unboxing and Setting Up the BitAxe NerdQAxe++: Lessons Learned and a Clean Setup Guide
When I first unboxed the BitAxe NerdQAxe++, I assumed the setup would be straightforward — after all, there was a manual inside the box. Unfortunately, the documentation was vague, which sent me down an unnecessary troubleshooting rabbit hole.
At one point, I even jumped the gun and asked ChatGPT how to upgrade the firmware (rookie mistake on my part). That advice led me further off track, so I turned to the WhatsApp BitAxe community. Thanks to the group’s guidance, I eventually confirmed the correct firmware version and nailed down the real issue.
The actual culprit?
A misleading pairing of symptoms: the MFA QR code wasn’t appearing, and Wi-Fi refused to connect. In the end, it turned out my router was set to 5 GHz, while the NerdQAxe++ only connects to 2.4 GHz. A classic facepalm moment.
Once that was sorted, everything fell into place. So, here’s a clean and tested step-by-step setup guide to save you from the same confusion.
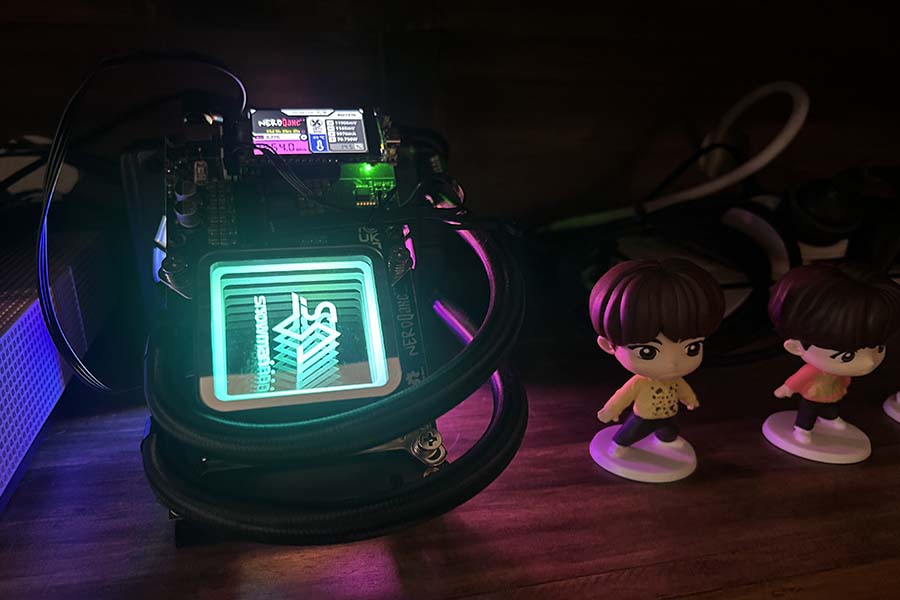
Insert the Display Chip
Inside the box, you’ll find the display module packaged separately.
Install this chip into the correct slot on the device before powering it up.
Connect the Power
Plug the power cable into the NerdQAxe++ and let it boot.
On the screen, you should see something like:
Connect to SSID: NerdQAxe_XXXX
Join the NerdQAxe Wi-Fi Network
Using your phone:
- Search for NerdQAxe_XXXX
- Connect to it (no password required)
Once connected, a configuration page will appear automatically.
Configure Wi-Fi Properly
Inside the menu:
- Go to Settings
- Enter your home Wi-Fi SSID and password
- Important: Select or ensure you are using a 2.4 GHz network, not 5 GHz
Click Save and Restart.
Confirm Network Connection
After restarting, the device screen should now display:
- Assigned IP address
- Stratum state
- Other hardware details
If you see an IP address, you’re good to proceed.
Access the Web Interface
On your desktop or laptop:
- Open a browser
- Enter the IP address shown on the device screen
You should now see the full NerdQAxe++ dashboard.
Setting Up MFA (Highly Recommended)
Go to Security → Start Enrolment.
You should now see a QR code displayed on the device screen. Use:
- Google Authenticator
- Authy
- Microsoft Authenticator
- Or any TOTP app
Scan the QR code and verify the 6-digit code.
NOTE: After MFA is enabled, any changes you make in the dashboard (pool settings, power tuning, etc.) will require a 2FA code — good security practice.
Mining Pool Settings
Go to Settings → Stratum Configuration and enter:
- Stratum Host
- Port
- Your Bitcoin address (More on this below)
Recommended pool options:
- solo.ckpool.org (pure solo mining)
- Solohash
- ViaBTC Solo Pool
If you’re already mining on ViaBTC or similar pools, it can be convenient to centralise everything in one account. Just make sure you use the correct Solo endpoint.
⚠️ Important: Use the Right Bitcoin Address
This part is crucial.
Do NOT use an exchange deposit address (CoinSpot, Binance, Coinbase, etc.).
Why?
If you hit a solo block, the payout is extremely large and sent directly from the Bitcoin network.
Most exchanges:
- Reject large direct miner payouts
- Do not support coinbase transactions
- Or may lose the funds entirely
This is widely discussed in mining communities.
Best Practice: Use a Hardware Wallet
Such as:
- Ledger Nano
- Trezor
- Coldcard, etc.
Make sure you:
- Generate a fresh Bitcoin receiving address
- Understand how to access it on your device
- Verify it before entering into the NerdQAxe++
Once you have your address:
- Paste it into the Bitcoin Address field
- Click Save and Restart
Final Step: Start Mining
After restart, your NerdQAxe++ should begin connecting to the pool.
Once the stratum is active — congratulations — you’re officially solo mining.
Closing Thoughts
The NerdQAxe++ is a powerful little miner, but the initial setup can be confusing — especially with unclear documentation. The key takeaways:
- Always connect using 2.4 GHz Wi-Fi
- Complete MFA to secure your miner
- Use a hardware wallet, not an exchange address
- Double-check pool settings before starting
Hope this guide saves you some time and prevents unnecessary frustration.
Happy solo mining — and may you find your block! 🚀